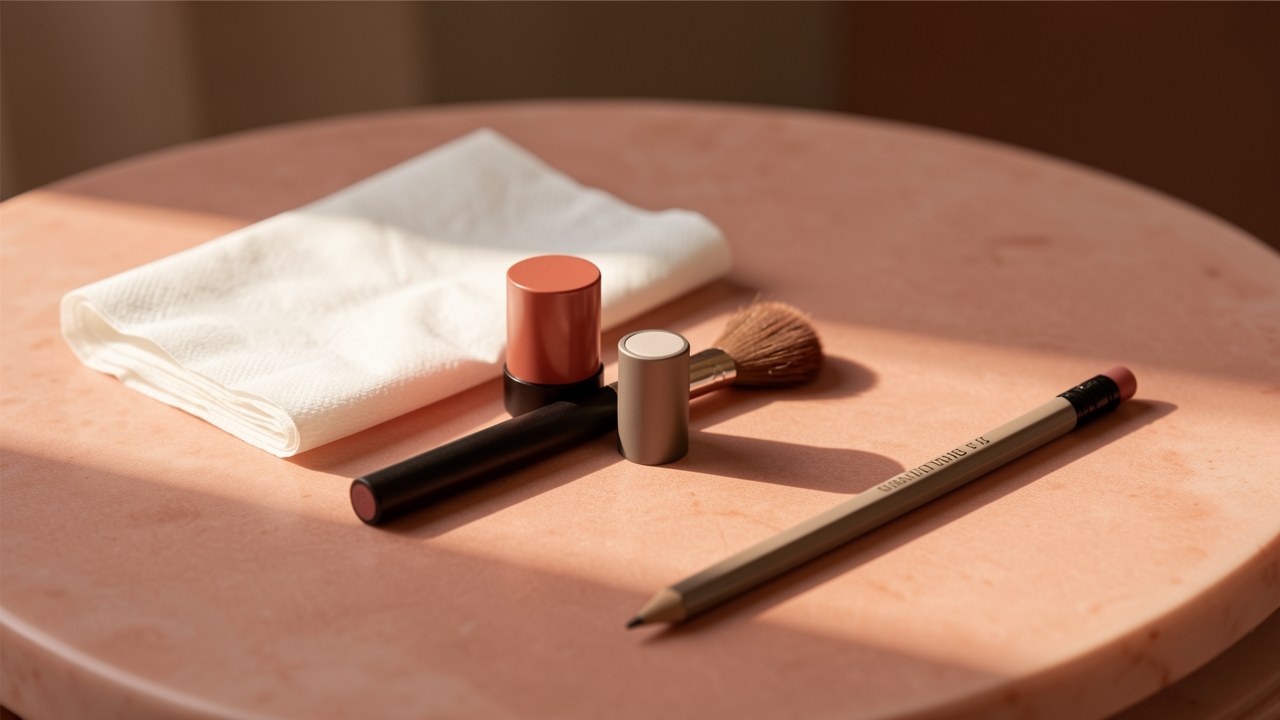
Preparing lips before color application
Lip color sits on top of skin, so the surface underneath shapes how evenly it goes on and how quickly it breaks down. Dry, flaky or textured lips can make lipstick apply unevenly and fade faster, according to cosmetic technique sources. If your color always looks patchy within an hour, the fix may be less about the formula and more about the canvas.
A common recommended prep order across several beauty sources is gentle exfoliation first, then a hydrating lip balm that absorbs, with any excess product blotted before color is applied. The key detail is the blotting step. Applying color directly over a fresh, heavy layer of balm can make lip color slip and fade faster, and more than one publisher independently warns about residual balm on the surface.
That does not mean balm is the enemy. It means balm is a prep step, not a base layer, unless you deliberately want a sheer, glossy finish that you plan to reapply often. For an everyday routine, think of it this way: exfoliate if your lips feel rough, moisturize, wait a minute or two, then press a tissue over your lips to lift the excess. The surface should feel smooth and comfortable, not wet.
How you exfoliate matters less than being gentle. A soft toothbrush, a damp washcloth or a dedicated lip scrub used with light pressure is enough. Skip aggressive buffing, because irritated lips feel drier, and dry lips are exactly the condition that makes color break down quickly.
- If lips feel rough or flaky, exfoliate gently before anything else.
- Apply a hydrating balm and give it a minute or two to absorb.
- Blot away the excess with a tissue — do not leave a wet layer under your color.
- If your lips are very dry or cracked, prioritize comfort over long wear and choose a more forgiving formula.
- Keep a balm in your bag for later touch-ups rather than adding more balm at the start.
Sources: Colors Queen, Girlactik, Revlon US, Makeup Tutorials, Maybelline
Why lip color fades and transfers during the day
Lip color fades for ordinary reasons. Your lips move constantly when you talk, sip and eat. Food oils and friction break down the color layer, which is why color that fades first from the inner lip is commonly attributed to eating, drinking and oily food. Transfer onto cups, napkins and masks is the same process in a different direction.
Feathering is a separate problem. It happens when color migrates past the lip line, usually because the formula is slippery, the lip line is not defined, or too much product was applied at once. Feathering is more visible with creamy and glossy formulas and less visible with matte and long-wear liquids that dry down. If you notice color creeping upward or downward within an hour, the cause is usually layering or excess product rather than wear time itself.
Understanding the difference between fade and feathering helps you troubleshoot. Fade means the color is disappearing from the center or wearing thin. Feathering means the color is spreading beyond where you placed it. They have different fixes: fade responds to prep, layering and setting, while feathering responds to liner, less product and avoiding slippery bases.
- Fade in the middle of the lip is often caused by eating, drinking and oily foods breaking down the color.
- Transfer happens when the color layer stays soft enough to press off onto whatever touches your lips.
- Feathering is color moving past the lip line, most common with creamy and glossy formulas.
- Applying too much product at once increases both smudging and migration.
- If your color fades within an hour, check your prep and the amount of balm left underneath.
Sources: Colors Queen, Lipstick Queen
Layering techniques for balm, liner, color and gloss
Layering is the core technique for making lipstick last. The commonly recommended order is balm (blotted), then liner, then color, then optional setting. Sources recommend both lining the lip line and lightly filling in the whole lip with liner before applying lipstick to create a base layer of color. Filling the whole lip helps color fade more evenly instead of leaving an outline when the center wears away.
For holding power, liners are typically matched to the lipstick shade or to your natural lip color rather than a strongly contrasting shade. A contrasting liner can look deliberate, but it also makes any fading more obvious because the edges stay while the center changes. If you want the longest, most even wear, match the tones.
When you apply the lipstick itself, build the color in thin layers rather than one heavy application. Thin layers reduce the excess product that causes smudging and patchiness. Press the first layer on, let it settle for a moment, then add a second thin layer only where you want more coverage. This is also the moment to decide whether you need gloss. Gloss adds shine and comfort but softens the color layer underneath, so it shortens wear. If you want both shine and staying power, apply gloss only in the center of the lip or accept that you will touch up more often.
A common setting technique is to hold a single-ply tissue over the lips and dust translucent powder through it, then add another light layer of color. Translucent powder is recommended over colored powder because colored powder can alter the lipstick shade. This step is optional and works best with cream and matte formulas rather than very glossy ones. Setting spray is generally better for face makeup than for lips, while dedicated lip sealers are described as creating a stronger film over lip color. That last point comes from a single beauty source, so treat lip sealers as an optional extra rather than a required step.
- Apply a thin balm and blot the excess so the surface is smooth but not wet.
- Line the outer edge of your lip with a liner matched to your lipstick or natural lip color.
- Fill in the whole lip lightly with the same liner to create an even base.
- Press on the first thin layer of lipstick or liquid color.
- Blot gently with a tissue to remove excess oil, without rubbing.
- Add a second thin layer of color where you want more depth or coverage.
- If you use powder, hold a single-ply tissue over the lips and dust translucent powder through it, then add one more light layer of color.
- Apply gloss only if you want shine, and expect to touch up sooner when you do.
Sources: Colors Queen, Girlactik, Revlon US, Makeup Tutorials, Lipstick Queen, Maybelline
Eating, drinking and touch-up habits that help
No lip color survives a meal completely intact, but some habits make a visible difference. Oily foods break down the color layer faster than dry foods, so if you know you are having something rich, plan for a touch-up afterward rather than expecting the original application to stay perfect. Hot drinks and repeated sips also soften the color and encourage transfer onto the cup.
For touch-ups, the recommended approach is to remove leftover uneven product first, then rebuild only the areas where color has worn away with a thin layer. Reapplying over a patchy center is what creates that thick, cakey look. Instead, press a tissue over your lips to lift what is left, then add color in the worn spots and blend the edges with your fingertip or a small brush.
A few practical habits help between meals. Use a straw when it is practical, especially for iced drinks. Blot rather than wipe after eating. Keep a liner or a small amount of your color with you rather than the whole routine. And if you wear long-wear liquid color, carry a balm to pat on top rather than a full reapplication, because layering more liquid formula over dry lips tends to look heavier, not better.
- Oily and greasy foods break down lip color faster than dry foods.
- Hot drinks and repeated sipping soften color and increase transfer.
- After eating, blot gently instead of wiping across the lips.
- Remove uneven leftover color before adding more.
- Rebuild only the worn areas with a thin layer, then blend the edges.
- Carry a balm for comfort and a liner or small amount of color for touch-ups.
Sources: Makeup Tutorials, Lipstick Queen, Maybelline
Managing long-wear formulas without discomfort
Long-wear matte and transfer-resistant liquid formulas generally resist fading and transfer more than creamy, glossy or sheer formulas. The trade-off is comfort. These formulas can feel tight or drying, especially after several hours, and some people find that the color eventually cracks or flakes in the center of the lip.
For comfort while wearing matte or long-wear color, sources suggest balm used underneath before application and patting balm or a lip treatment on top during wear instead of swiping. Patting means pressing the product onto the lips with a fingertip rather than dragging it across, which disturbs the color less. A small amount is enough; a heavy layer on top will break down the color and shorten wear.
In humid conditions, beauty sources recommend matte or transfer-resistant liquid formulas and thin layers rather than a heavy balm base. Humidity makes creamy formulas more likely to slip, so if you know you will be in a warm or humid environment, a thinner, drier formula tends to hold better.
There is an important limit here. Whether long-wear products are damaging to lips is not established by cosmetic technique sources, and dose-related irritation thresholds and medical claims are outside what this guide can responsibly address. If your lips become painful, cracked or persistently irritated, stop using the product and consider that your lips may need a break from long-wear formulas. That is a comfort decision, not a medical diagnosis.
- Use a balm underneath, blotted, before long-wear color.
- Pat balm or treatment on top during wear instead of swiping.
- Keep top-up layers thin; a heavy balm layer breaks down the color.
- In humid conditions, choose matte or transfer-resistant formulas and thin layers.
- If lips become painful or persistently irritated, stop using the product and give your lips a rest.
- Do not treat long-wear marketing claims as a safety guarantee; they describe wear, not skin tolerance.
Sources: Lipstick Queen, Girlactik, Maybelline
Realistic wear-time expectations by product type
It is worth separating brand wear-time claims from everyday expectations. Brand durability claims in the available sources include up to roughly 16 hours for some long-wear matte and vinyl liquid lipsticks, up to about 12 hours for some tint and creamy matte products, and up to about 8 hours for a crayon format. Those are manufacturer-marketed wear times, not independently verified results, and they do not account for meals, drinks or how much you talk.
Independently stated wear-time expectations in the same sources give lip stain type products roughly 8 to 12 hours, long-wear matte liquids roughly 6 to 8 hours, and the shortest ranges to sheer, creamy and glossy types. These are consumer-facing estimates from beauty publications, not results from standardized testing, so treat them as rough guides rather than promises.
A practical way to use this is to plan your touch-ups rather than fight them. A long-wear matte might carry you through a morning of meetings and need a light rebuild after lunch. A creamy or glossy lipstick may look lovely for a couple of hours and then need a full reapplication. Neither is a failure. They are different trade-offs between comfort, shine and staying power.
One caution applies to all of this. Wear-time figures should be read as rough expectations, and the only reliable way to know how a product behaves on you is to try it in your own routine.
| Product type | Common expectation | Notes |
|---|---|---|
| Lip stain | Roughly 8 to 12 hours | Consumer-facing estimate; stains often leave a residual tint after the top layer fades. |
| Long-wear matte liquid | Roughly 6 to 8 hours | Brands have marketed some at up to about 16 hours; everyday wear is usually shorter. |
| Creamy matte | Up to about 12 hours in brand claims | Comfortable but more likely to transfer with eating and drinking. |
| Crayon format | Up to about 8 hours in brand claims | Convenient to reapply; generally not transfer-proof. |
| Sheer, creamy and glossy | Shortest ranges | Expect to reapply after meals; gloss softens the color layer. |
Sources: Colors Queen, Lipstick Queen, Maybelline, Girlactik
Frequently asked questions
Why does my lipstick disappear in the middle of my lips?
The inner lip takes the most friction from talking, eating and drinking, and food oils break down the color layer there first. If you apply lipstick over a slippery balm base or in one heavy layer, the center is also more likely to shift. Prep your lips, blot excess balm, then fill the whole lip lightly with liner before your color so that fading happens more evenly rather than leaving an outline.
Sources: Colors Queen, Lipstick Queen, MaybellineDoes powder or blotting really help lipstick last?
Blotting removes excess oil from the surface, which helps the remaining color stay put. A common setting technique is to hold a single-ply tissue over the lips and dust translucent powder through it, then add another light layer of color. It works best with cream and matte formulas. Use translucent powder rather than colored powder, because colored powder can change the shade of your lipstick.
Sources: Revlon US, Makeup Tutorials, Lipstick QueenAre long-wear lipsticks damaging to lips?
Cosmetic technique sources do not establish whether long-wear products damage lips, so it is not possible to make a general safety statement here. What you can do is pay attention to comfort. Long-wear matte and transfer-resistant formulas can feel tight or drying, and if your lips become painful, cracked or persistently irritated, stop using the product and give your lips a rest. That is a comfort decision rather than a medical conclusion.
Sources: Lipstick QueenHow do I touch up lip color without it looking cakey?
Remove the uneven leftover product first, then rebuild only the areas where color has worn away with a thin layer. Reapplying over a patchy center is what creates the thick look. Press a tissue over your lips to lift what is left, add color to the worn spots, and blend the edges with your fingertip or a small brush.
Sources: Makeup Tutorials, Lipstick Queen, MaybellineShould I apply lip balm before lipstick?
Yes, but blot it. Most sources recommend a hydrating balm as a prep step, with excess product blotted before color is applied. Applying lipstick directly over a fresh, heavy layer of balm can make the color slip and fade faster. The surface should feel smooth and comfortable, not wet.
Sources: Colors Queen, Girlactik, Revlon US, Makeup Tutorials, MaybellineHow do I keep lipstick from bleeding outside my lip line?
Use a liner to define the lip line before applying color, and match it to your lipstick or natural lip color rather than choosing a strongly contrasting shade. Feathering is also more likely when you apply too much product at once or leave a slippery balm base underneath, so keep layers thin and blot excess balm first. Matte and long-wear formulas spread less than creamy and glossy ones.
Sources: Colors Queen, Revlon US, Makeup Tutorials, Lipstick Queen, MaybellineCan I wear lip gloss over lipstick?
Yes, but expect it to shorten wear. Gloss adds shine and comfort while softening the color layer underneath, so transfer and fading happen sooner. If you want both shine and staying power, apply gloss only in the center of the lip or plan to touch up more often.
Sources: Colors Queen, Girlactik, Lipstick QueenHow do I make my lip color last through a meal?
No lip color survives a meal completely intact, but oily foods break down the color layer faster than dry foods, so plan a touch-up after rich meals. A few habits help: use a straw for cold drinks when practical, blot rather than wipe after eating, and rebuild only the worn areas with a thin layer after removing leftover product. Long-wear matte and transfer-resistant liquid formulas generally hold up better through eating than creamy or glossy ones.
Sources: Colors Queen, Makeup Tutorials, Lipstick Queen, MaybellineSources
- How to Apply Lipstick for Long Wear | Make Any Lipstick Last Longer – Colors Queen — Colors Queen
- How to Make Lipstick Last Longer – Girlactik — Girlactik
- How to Prep Your Lips for Lipstick: Smooth, Hydrated Color That Lasts – Revlon US — Revlon US
- How To Make Your Lipstick Last All Day | Makeup Tutorials — Makeup Tutorials
- How to Make Lipstick Last Longer: Expert Tips — Lipstick Queen
- How to Get Long Lasting Lipstick Coverage All Day — Maybelline
- How to Keep Lips Moisturized with Matte Lipstick — Lipstick Queen