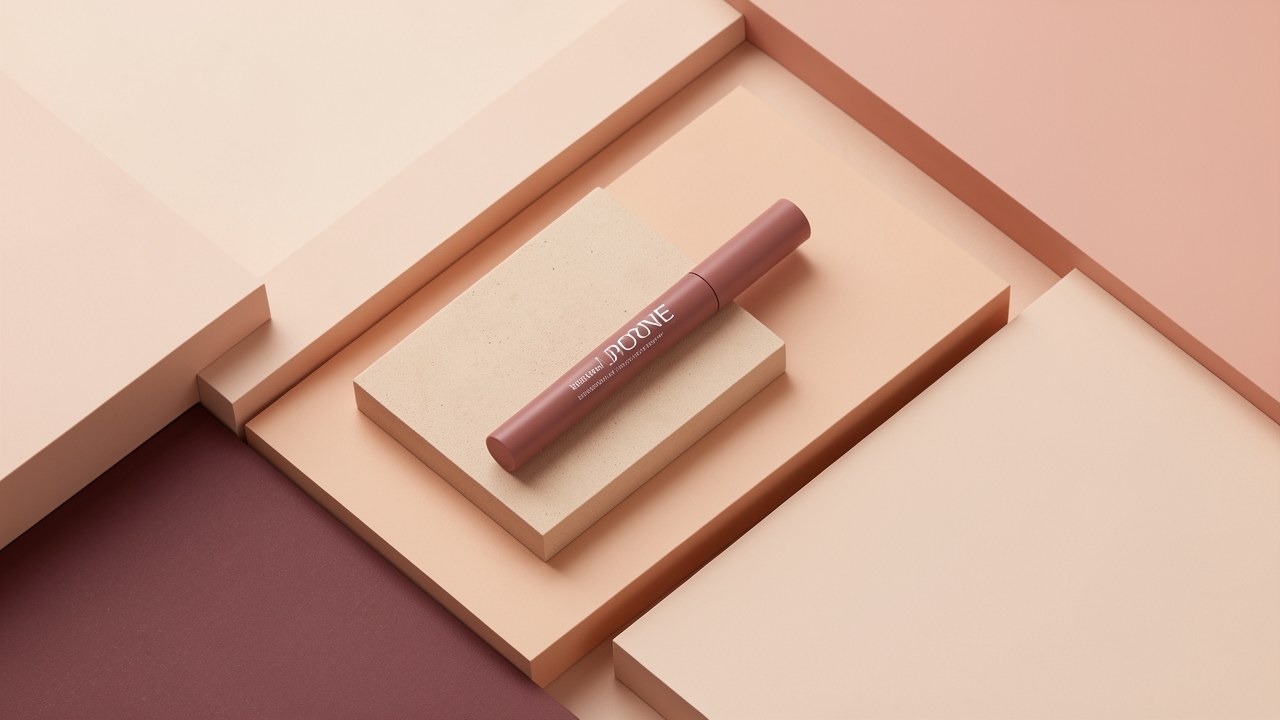
What lip liner actually does
Lip liner, sometimes called a lip pencil, is a makeup product used to outline the lips and add shape before lipstick or gloss. It is typically firmer in texture than lipstick, and that firmness is what gives you more control and precision when you draw the edge of your lips.
In practice, liner is asked to do several jobs at once. It can define the lip shape, help keep lipstick from feathering, improve color payoff and longevity, and make lips look fuller and more symmetrical. BUXOM's guide describes two broad roles for liner: a defining liner with a sharp tip and firmer texture for outlining, and a filling liner that is creamier or crayon-like for coloring the full lip and acting as a color base that helps the lip color last longer.
One useful way to think about placement is timing. Liner can be applied before lipstick to define shape and create a wear-enhancing base, after lipstick to refine edges or correct uneven application, or both, where you outline first, apply lipstick, then touch up at the end.
- Defining liners: sharp tip, firmer texture, used for outlining and precision.
- Filling liners: creamy or crayon-like, used to color the whole lip and act as a color base.
- Common formats: pencil liners for crisp precision, retractable liners that glide without sharpening, and crayon or gel liners with richer coverage that suit filling the lips before lipstick.
- Matte liners are described as offering long-wear hold and suiting bold lips, while creamy liners are described as easier to blend and better for softer or glossy looks.
Sources: Revlon, L'Oréal Paris, BUXOM Cosmetics
Choosing a liner shade that works with your lip color
Shade choice is the part of lip makeup that most often decides whether liner looks invisible or obvious. A practical starting point is your goal. For a natural look, choose a liner that matches your natural lip color or your lipstick. For more definition, choose a shade slightly deeper. For a contouring or ombré effect, use a deeper liner and blend inward.
Brands give slightly different guidance on how deep that deeper shade should be, and it is worth treating it as a range. One brand advises matching the liner to your lipstick or choosing one shade deeper, while also warning against liners that are dramatically darker than the lipstick, since that can create harsh contrast. Other brand guidance suggests choosing a liner one to two shades darker than your natural lip color to create the illusion of a fuller pout. A liner that is too light can make lips look washed out or ashy, so the useful middle ground is one step deeper when you want definition and a modest step or two when you want the shape to read more strongly.
Undertone matters as much as depth. Stay within the same undertone family, pairing warm with warm and cool with cool, and match the liner to the color family and undertone of the lipstick, gloss or balm you plan to wear. This is what keeps a definition shade from looking disconnected from the rest of your lip color.
- Natural finish: match your natural lip color or your lipstick.
- Defined finish: go slightly deeper, generally about one shade.
- Fuller-looking or ombré finish: use a deeper liner and blend inward.
- Avoid extremes: a liner far darker than your lipstick can look harsh, and a liner that is too light can look washed out.
- Match undertone as well as depth, keeping warm with warm and cool with cool.
Sources: Revlon, BUXOM Cosmetics, e.l.f. Cosmetics, Persona Cosmetics (Facebook post)
Preparing lips before liner application
Liner sits best on a smooth, lightly hydrated surface. Preparation is consistently described the same way across technique guides: gently exfoliate the lips, apply a hydrating balm, then blot away any excess moisture. Blotting matters because pigment adheres more evenly when the surface is not slippery, and it helps prevent the pencil from skipping or clumping.
A related point about color products in general is that a balm should be fully absorbed before you apply a tint, because well-hydrated, non-oily lips hold color more evenly and fade more evenly. That principle applies to liner as well: hydrate, wait a moment, blot, and then begin.
Finally, sharpen your pencil before you start. A sharp tip is recommended for precision, while a dull tip can make lines look smudgy and make it harder to control the shape.
- Gently exfoliate the lips.
- Apply a hydrating balm.
- Blot away excess moisture before lining.
- Sharpen or twist up the pencil so the tip is clean and precise.
Sources: BUXOM Cosmetics, Revlon, L'Oréal Paris, e.l.f. Cosmetics, NYX Cosmetics
Basic lining techniques: outline, fill and blend
A simple sequence covers most everyday needs. Begin at the cupid's bow, using short, controlled strokes and holding the pencil at an angle rather than dragging it flat against the lip. You can mark an X at the cupid's bow to help check symmetry before you continue. Then define the bottom lip from the center outward and connect the corners so the outline reads as one continuous shape.
Next, decide whether this is an outline-only look or a filled look. Outlining first and then filling the lips with liner is a common technique, and combining both steps is described as improving wear. Filling is also described as acting almost like a primer that grips the lip color that goes on top; treat that as an outcome the brands describe rather than a measured performance claim.
Finally, choose your edge. For a softer look, gently blend the liner inward with a fingertip or a small brush. For a bold, defined result, keep the edge crisp. Applying liner with light, feathery strokes along the natural lip line rather than one heavy line gives more control and a softer, more natural-looking outline.
- Prep the lips: exfoliate, hydrate, blot, sharpen the pencil.
- Mark the cupid's bow, drawing a small X to check symmetry.
- Outline the top lip from the cupid's bow outward using short controlled strokes.
- Define the bottom lip from the center outward.
- Connect the corners so the outline is continuous.
- Fill the lips with liner if you want longer wear or a fuller color base.
- Blend the inner edge inward for a soft gradient, or leave it crisp for a defined look.
- Layer lipstick, gloss or balm, then refine the edge if needed.
Sources: Revlon, BUXOM Cosmetics, e.l.f. Cosmetics, L'Oréal Paris
Using liner to reduce feathering under gloss or lipstick
The most common reason to line before color is control at the edge. Outlining the lips with liner before applying color acts as a barrier that helps keep lipstick from bleeding or feathering and defines the shape. This is a framework-level explanation of how liner is used, not a measured performance guarantee, so think of it as a technique that supports a clean edge.
Order matters here. A creator's stated approach is to prime the lips with a hydrating balm before any color, then line the lips first to create a barrier the color cannot cross. It is a reasonable habit to test for yourself, especially with gloss, which tends to move more than a matte lipstick.
If you want a fuller look, overlining, meaning applying just outside the natural lip line, is described as a way to fake fuller lips. The guidance is to keep the overline close to your natural shape. Subtle overlining at the cupid's bow and the center of the bottom lip, blended inward, reads more naturally than taking the line far outside the lip. One demonstrator also fills in the corners with liner to contour them, then taps the line with a finger to soften it, a technique described by that artist rather than a universal rule.
- Line before color for a cleaner edge under lipstick or gloss.
- Keep the outline close to your natural shape, especially when overlining.
- Blend any overlined area inward so it does not look drawn on.
Sources: BUXOM Cosmetics, Revlon, e.l.f. Cosmetics, Instagram (creator reel), L'Oréal Paris
Fixing common liner mistakes such as harsh edges or uneven shape
A few habits prevent most liner problems. The first is depth: choosing a liner more than one to two shades darker than the lipstick is listed among common mistakes because it creates harsh contrast. The second is the edge itself, where a sharply drawn line can look severe. The fix is to blend the liner inward with a fingertip or a small brush rather than redrawing the line.
Uneven shape usually comes from working too fast or from a dull pencil. Sharpen the tip, then work in short strokes from the center outward and compare one side with the other at the cupid's bow before you commit to the full outline. If the outline already looks uneven, soften it rather than layering more product on top.
Undertone mismatch is the quieter mistake. If a liner looks disconnected from your lip color, the issue is often that the undertone families do not match, not that the shade is the wrong depth. Finally, skipping liner entirely is listed as a mistake for anyone who wants a defined edge, since liner is what gives the lip color a boundary to sit inside.
- Too dark: keep the liner within about one to two shades of the lipstick.
- Too harsh: blend the edge inward with a fingertip or small brush.
- Uneven: sharpen the pencil and work in short strokes from the center outward.
- Mismatched: check that liner and lip color share an undertone family.
- Skipped: if you want a defined edge, line first, then add color.
Sources: Revlon, e.l.f. Cosmetics, BUXOM Cosmetics
Removing and caring for lips after lined wear
Removal is the step most often left out of liner guides. The brand technique sources focus on prep, application and shading, and do not set out a liner removal method, so this section relies on a creator's stated approach and on adjacent care advice. Treat the following as a low-confidence starting point rather than a set protocol.
A short-form creator video on removing lip liner describes pressing gently on the liner area and rolling away from the lip edge, lightly stroking along the lip line, and using an oil-based remover for stubborn liner. These are the creator's stated steps, not an authoritative removal method. If you wear a long-wear formula, expect it to resist simple wiping, and be patient rather than scrubbing.
Adjacent guidance from other lip products can be used carefully, but only for the product it actually describes. For lip stain, one brand suggests putting balm over the stain, letting it sit for a minute, then wiping with a makeup removal wipe; that is a stain method and does not describe liner. Another brand advises applying a lip mask two to three times a week to replenish moisture, and moisturizing lips with rich products; that is general lip care. One brand notes that liner behaves differently once lips start to dry, which is a reason to keep lips moisturized rather than a specific removal step.
- For lip liner: press gently on the lined area and roll away from the lip edge.
- For lip liner: lightly stroke along the lip line rather than rubbing hard.
- For lip liner: try an oil-based remover for stubborn or long-wear liner.
- For general lip care: follow with a balm or lip mask to replenish moisture.
- For lip stain only: apply balm over the stain, wait a minute, then wipe with a makeup removal wipe.
Sources: Claudia Ravioli (TikTok), BUXOM Cosmetics, Huda Beauty (Facebook post), Thrive Causemetics (Facebook post)
Long-wear formulas, comfort and removal
Long-wear liners behave differently from traditional pencils. An independent review describes newer lip liners as unlike the hard and waxy liners of the 1990s and 2000s, and characterizes pencil formats as giving a drier, softer initial color payoff than gel liners. The same review describes well-regarded long-wear liners as soft, blendable and non-drying, and says gel formulas are reached for when a liner needs to last through a meal, while softer pencils wear for a few hours before fading. Those are one writer's firsthand impressions, not a comparable wear test, so use them as a qualitative contrast rather than a measured claim.
Because long-wear formulas grip more firmly, plan for a slightly more deliberate removal step. The creator approach described above is the only directly relevant liner removal guidance available, and it is anecdotal. A useful habit is to keep an oil-based remover on hand specifically for long-wear days, and to give lips a break with a balm or mask afterward.
When shopping, one brand's selection guidance suggests looking for hydrating ingredients such as peptides or vitamin E and for waterproof or smudge-resistant claims. That is product-selection advice, not a safety or efficacy finding, and ingredient details on any specific product should be checked on its own label.
- Pencil formats tend to give a drier, softer initial payoff than gel liners.
- Gel formulas are described as longer-wearing for meals; softer pencils are described as fading after a few hours.
- Plan a more deliberate removal routine for long-wear formulas.
- Look for hydrating ingredients and smudge-resistant claims if those matter to you, and check the label for specifics.
Sources: Beauty Unhyped, Claudia Ravioli (TikTok), BUXOM Cosmetics
Quick reference: matching the liner to your goal
Use this as a decision aid when you are standing in front of the mirror with a pencil in hand. The left column is your goal; the right column is the technique that brands and technique guides describe for that goal.
| Your goal | Technique |
|---|---|
| Natural, barely-there definition | Match the liner to your natural lip color or your lipstick; keep the outline close to the natural lip line. |
| More definition and a fuller look | Choose a liner about one shade deeper than your lip color, or one to two shades deeper for a stronger effect, and blend any overline inward. |
| Contour or ombré effect | Use a deeper liner and blend the color inward toward the center of the lip. |
| Cleaner edge under gloss or lipstick | Outline first to act as a barrier, then add color on top. |
| Softer, blurred finish | Blend the liner inward with a fingertip or small brush, or soften the edge with the flat side of the pencil. |
| Longer wear | Fill the lips with liner before lipstick; a matte liner is described as giving longer hold for bold looks. |
Sources: BUXOM Cosmetics, Revlon, e.l.f. Cosmetics, L'Oréal Paris
Frequently asked questions
Does lip liner have to match lipstick exactly?
No. Matching your lipstick is one option, and it gives the most seamless result. The other common approaches are to match your natural lip color for a softer look, or to choose a shade one to two steps deeper for definition. The useful rule is depth plus undertone: stay within about one to two shades and keep warm liners with warm colors and cool liners with cool colors. Avoid a liner that is dramatically darker than the lipstick, which tends to create harsh contrast.
Sources: Revlon, BUXOM Cosmetics, e.l.f. Cosmetics, Persona Cosmetics (Facebook post)Can I wear lip liner without lipstick?
Yes. Liner can be worn alone for a matte, defined finish, or blended inward for a soft wash of color. If you wear it alone, the prep steps still matter: exfoliate, hydrate, blot, and sharpen the pencil so the outline stays clean. A filling liner, which is creamier, is generally easier to wear alone because it colors the whole lip rather than just the edge.
Sources: BUXOM Cosmetics, Revlon, e.l.f. CosmeticsHow do I stop lip liner from looking harsh?
Start with shade selection, since a liner that is far darker than your lipstick or too cool for your undertone will look harsh no matter how carefully you draw it. Then soften the line itself: blend the liner inward with a fingertip or a small brush, or use light feathery strokes along the natural lip line instead of one heavy line. If you have overlined, keep the extra area close to your natural shape and blend it inward so the edge does not read as drawn on.
Sources: Revlon, e.l.f. Cosmetics, BUXOM CosmeticsIs lip liner safe for everyday use?
The technique guides reviewed here do not provide a safety assessment of daily liner wear. Some brand guidance connects liner behavior with lip dryness and suggests moisturizing with a balm or lip mask, and one selection tip is to look for hydrating ingredients such as peptides or vitamin E. If you have specific concerns about wearing lip products every day, speak with a qualified professional; a general makeup guide cannot give you a personal safety answer.
Sources: BUXOM Cosmetics, L'Oréal Paris, Thrive Causemetics (Facebook post)How should I remove long-wear lip liner?
A creator describes pressing gently on the lined area and rolling away from the lip edge, lightly stroking along the lip line, and using an oil-based remover for stubborn liner. That is an anecdotal approach rather than a tested method, but it is the only directly liner-specific removal guidance available. Long-wear formulas grip more firmly, so plan a slower, gentler removal and follow with a balm or mask to replenish moisture.
Sources: Claudia Ravioli (TikTok), Thrive Causemetics (Facebook post)Sources
- How to Choose a Defining vs Filling Lip Liner for All-Day Wear — BUXOM Cosmetics
- How to Apply Lip Liner (Even If You're a Beginner) — Revlon
- Lip Liner Mastery: e.l.f.'s Expert Guide to Finding Your Perfect Lip Liner Shade — e.l.f. Cosmetics
- How To Get Fuller Lips: Lip Liner Tips & Tricks — L'Oréal Paris
- Top 6 Long-Wearing and Blendable Lip Liners for Natural Look — Beauty Unhyped
- Q. How do I choose a lip liner shade? — Persona Cosmetics (Facebook post)
- How to Remove Lip Liner Without Messing Up Makeup — Claudia Ravioli (TikTok)
- Raise your hand if you've avoided lip liner since the millennium ... — Instagram (creator reel)
- your lip stain removal guide 👄 🫧 — Huda Beauty (Facebook post)
- Lip Liner Stains: Benefits & How To Apply — NYX Cosmetics
- Nobody talks about how lip liner behaves differently once your lips start to dry — Thrive Causemetics (Facebook post)